Tuesday, August 28, 2012

Food Condiment Cats
a rant, a process, a movement


So, ketchup.

It's one of those things that people love with a force that is unrivaled. Well, as far as condiments go. The love people have for their children, their cars, and their religious texts might surpass it a bit? Maybe? Am I even anyone to say?

I have friends who slather their breakfasts in it, pridefully. People who love ketchup tend to also love other people who love ketchup. It's a big massive circle of love, and the glue that holds it all together is thick and red and, generally, full of high fructose corn syrup. It's quite blissful, really.

But let's be honest: ketchup sweetened with agave JUST. DOESN'T. TASTE. AS. GOOD. This is probably because our tastes have grown accustomed to high fructose corn syrup and cane sugar as the ketchup sweetener, unless we're babies and have grown up in the modern age of organic agave-type. Our tastes are all messed! We know no other way! We are stubborn. I recognize all of this when I complain about agave-sweetened ketchup. I am a cog in Heinz's nightmare machine! I try to keep cane sugar out of my diet completely (a hellish task when you live in a town with a heavenly vegan chocolate shop), but ketchup is a concession I (dumbly) make. I like the stuff! I don't love it, though. My identity is nowhere near fastened on ketchup-loving. But heck, it's a really great condiment. No bones about it.


So, our farm share was giving us like, 12 pounds of tomatoes every week. Twelve pounds! That's a lot of tomatoes. We try to all do our parts to get through them: making salsa, making tomato sauce, waking up at all hours of the morning to just devour one like an apple because it feels like our goddamn civic duty. And, what's a really good way to cook down a bunch of the little buddies? In waltzes ketchup! The dream condiment. Yes, I shall make ketchup.

The recipe goes a bit like this:


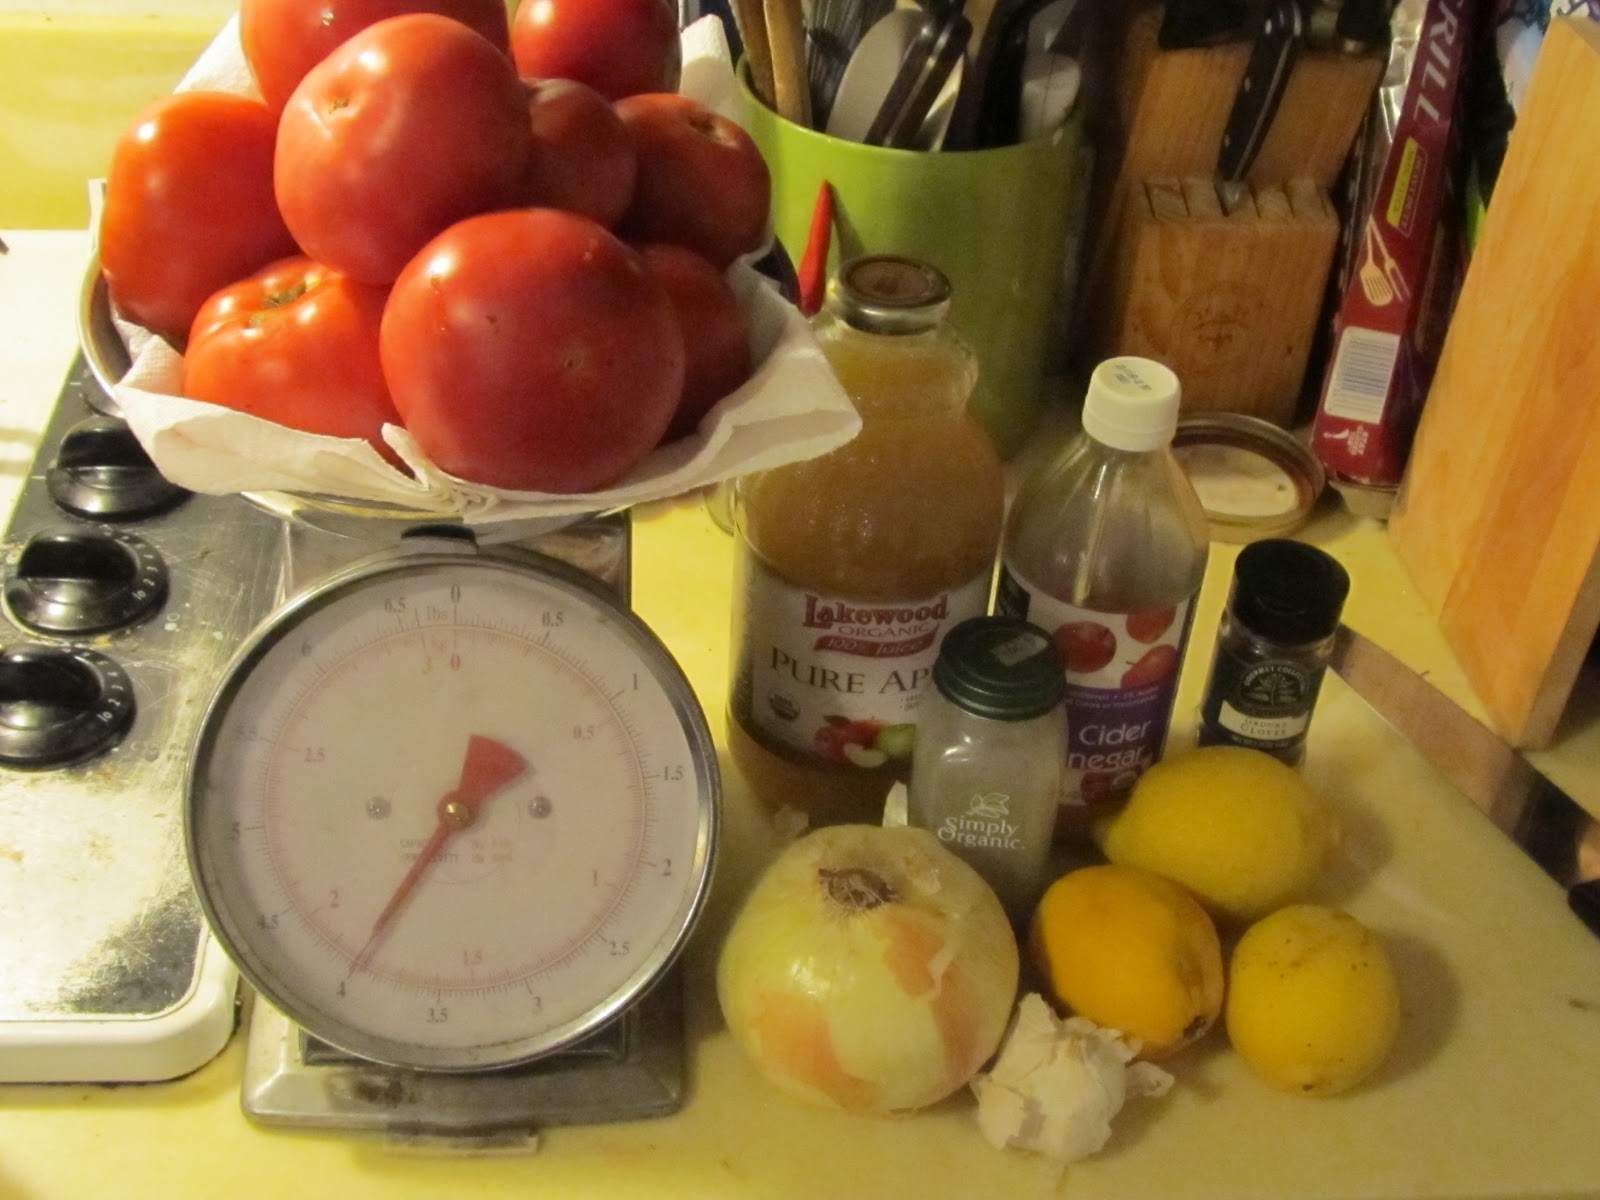
4 pounds of tomatoes, seeded & diced
1 large onion, diced
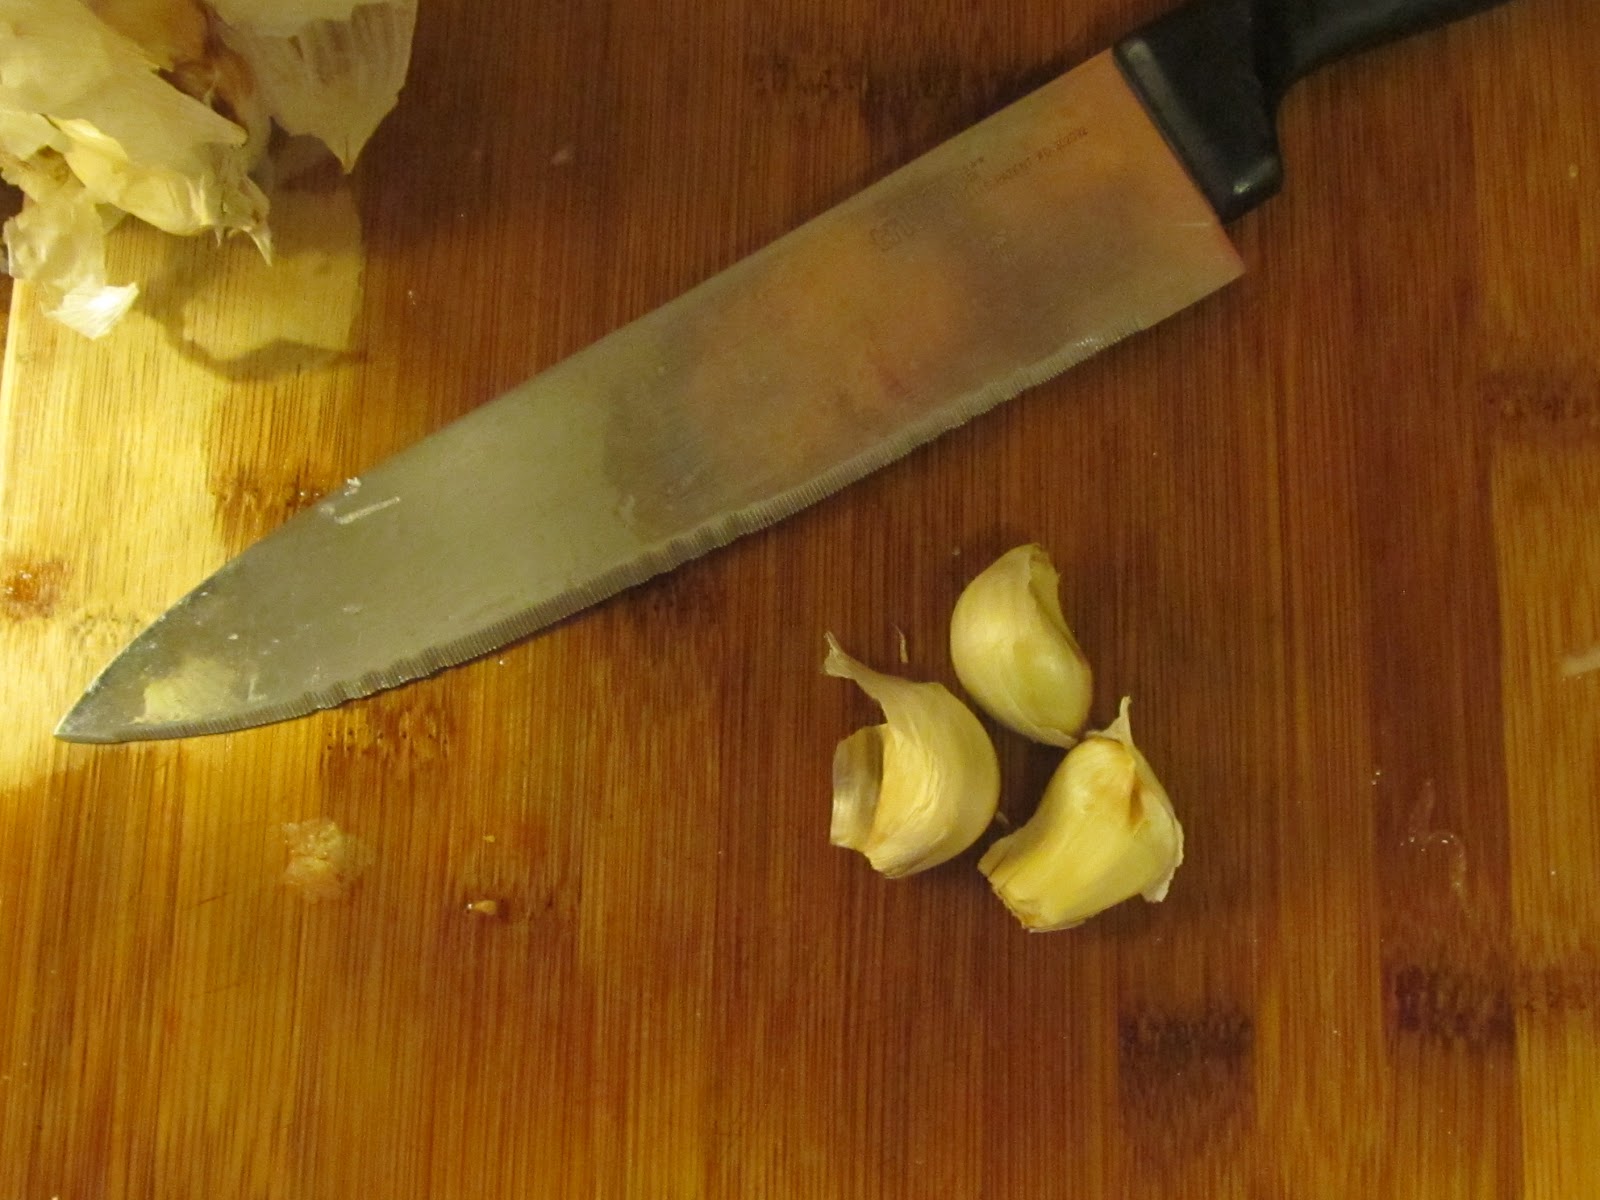
3 cloves of garlic, diced
1/4 cup unsweetened apple juice
1 bay leaf
3 tablespoons apple cider vinegar
a shake of powdered cloves
a few shakes of black pepper
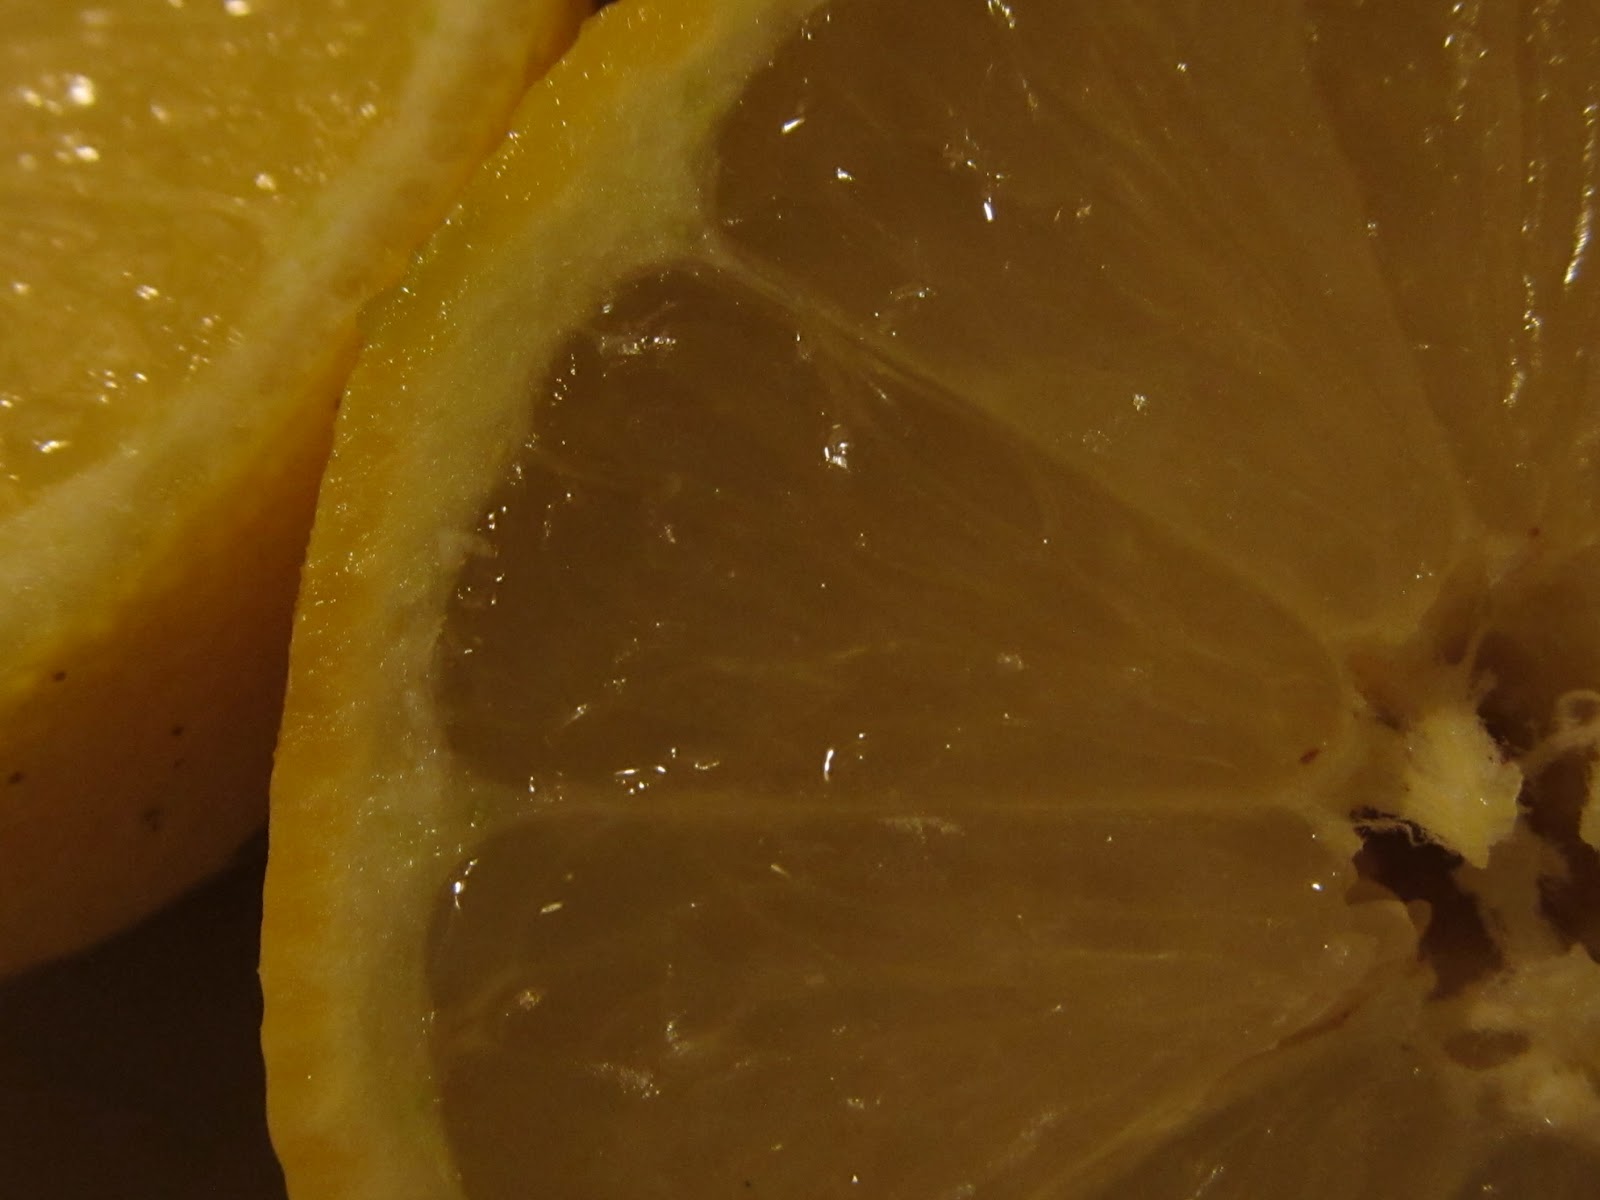
1/2 cup lemon juice
agave nectar, to taste


First, dice up your tomatoes. You have to seed the things, which is a total bummer of a task, ask anyone. Take out the seeds and the gelatinous seed surroundings, then dice up the solid tomato matter. Throw the gelatinous seed junk at your enemies! Or, put it in your compost.


Dice up your onion and garlic!


Put these in your saucepan on the stove with the apple juice. Let it come to a boil, then add the bay leaf, apple cider vinegar, cloves, and black pepper. 


When it's reduced to about half its original size, add your lemon juice. 


(Sidenote: While waking from my car to the supermarket tonight, I found a pristine lemon sitting in the parking lot, away from any cars. Let my tombstone read that I am NOT (at all) above picking up neglected fruit found in parking lots. I consider that lemon a gift from an alternate universe! Or, a negligent shopper! Either way, a free lemon. This cannot be argued with.)


Let it boil awhile until it seems like most of the liquid bits have boiled off. I am no ketchup-making expert, and this approximation-filled description should spell that out loud and clear. When it seems like it's at the point ketchup should be, remove the bay leaf, and take your trusty immersion blender and go to it! If you don't have an immersion blender, run out and buy one immediately. Your life will get really good, really fast.


Add agave nectar (or sugar, you fiend!) to the ketchup, to taste. Make it as sweet as you want, okay? Have a dear friend go get you some french fries so you can REALLY test that stuff out. Put it in a neat jar after it cools, and stick it in the fridge.


You have now made ketchup. You can brag about this, if you want! You don't even ever have to do it again! Just that once. Making ketchup at home sorta feels like changing your own car's oil: it's good to know how to do, but once you know how to do it, you kind of just feel like it's really fair and better to just dish out money for someone else's handiwork.

They're going to give us more tomatoes tomorrow, I can just sense it. What a horrible complaint for me to make. Take care, dears. Come over and grab a tomato or two if you're in the neighborhood.


Friday, April 29, 2011

Empanadas! Empanadas! Empanadas!
like delicious little doughy caves for rice and plantains to live inside until you devour the whole thing, you unfeeling monster

We're going to pretend that it hasn't been over a year since my last post because, quite frankly, there isn't time for any of that junk! No, not at all! We have to talk about empanadas! So urgent. You have already forgotten about my disturbingly lengthy hiatus for which there were perfectly legitimate grounds for that I just plain don't feel like/don't have time to elaborate on. Wonderful! Perfect. Let's begin.

I have learned all of this from Terry Hope Romero, vegan superhero deluxe. Her book Viva Vegan is a pretty crucial addition to your cookbook shelf/pile/collection. I will kindly throw the word "churros" around gratuitously if you are in disbelief of the necessity of the cookbook for some zany reason. I used her book's recipes for this, and doctored where I saw fit.

What you'll need for the empanada dough:

3 cups all-purpose flour
1 1/2 teaspoons salt
1/4 teaspoon baking powder
6 tablespoons chilled non-hydrogenated vegan shortening
2 tablespoons chilled non-hydrogenated vegan margarine
3/4 to 1 cup ice cold water

You prepare the empanada dough sort of like you would prepare any pie crust dough. In a food processor, pulse the flour, salt, and baking powder. Add in the shortening and margarine in small chunks and pulse until everything is incorporated and it's a soft sand-like consistency.


If you have ice cubes on hand, throw them in the water beforehand to get it as chilled as you possibly can. When you have the rest of your dough mixed up, add the water and mix it all up with your hands. Knead it briefly, and then divide the whole thing into two equal sections.

Flatten each, and wrap it with plastic wrap. Put them in the refrigerator to chill overnight.


The next day, when you go to continue on your empanada quest (riding a stallion/sheathed weapon at your side), you'll need to make the filling! I opted to fill them with "things I like," which feels like good if not perfect criteria, so long as everything included is both edible and somewhat appropriate taste-wise. Here's what I did, and feel free to add/subtract/multiply herein.

Empanada Filling:

olive oil for frying
1 cup white rice
2 plantains
2 cups black beans
3 cloves garlic
1 yellow onion
1 green pepper
2 roma tomatoes
mushrooms
1 teaspoon cumin
1/2 teaspoon oregano
1/4 cup vegetable broth
1/2 teaspoon salt
black pepper
avocado
pickled jalapenos

Prepare your rice. You can certainly use leftover or flavored rice if you've got it! Cut your ripe plantains into half inch sections.

Fry them in olive oil and salt them lightly, until each side is golden. Drip off excess oil, and set aside!

Dice up your garlic and simmer it in oil, making sure to keep it moving to avoid burning. After a half minute, add your diced up onion, green pepper, and tomatoes.

Cook it all up until the onions are getting nice and transparent. Add your mushrooms and simmer a little longer.

Add beans and vegetable broth, and simmer until most all of the liquid has been absorbed, and the beans are soft. Add black pepper to taste.

As all the fillings cool, bring your chilled empanada dough back out. Get some wax paper and have it handy to put your rolled out dough circles on. Dust a rolling pin and surface with flour, and roll out each section of dough until it's about 3/8 inch thick.

Use a bowl (6 inches in diameter, or close to it), and with a knife, cut around the bowl to create uniform sized dough circles/empanada wrappers.

Keep cutting and re-rolling until all or most all of your dough has been used. The amounts in the recipe will make around a dozen rounds. Place each one on the waxed paper until all your dough is gone and you are ready to fill them.

Scoop some rice, beans&veggies, and plantains onto each round. Do whatever proportions feel right to you! Be careful not to overfill them, you'll get a good idea of the amount of filling you should be putting in them after you make a couple.

Fold the dough over onto itself to contain the filling and seal the empanada.

This should make a nice half-moon shape. With a fork, press down along the edges to crimp them and further seal the empanada together.

Once all of your empanadas are assembled and ready for cooking, heat up some oil! You're going to want an inch or so of oil so you can get the empanada buddies fried up evenly. The oil should be pretty darn hot, hot enough to bubble up around a piece of dough, frying it quickly. You want your empanada to cook nice and evenly without soaking up a lot of grease. Slide an empanada or two (or three or more: depending on the size of your pan!) into the pan and watch it fry!

Have tongs handy so you can check its status and flip it when necessary. You want your empanada to be slightly browned, a little golden. Flip it, cook it, and then set it aside to cool when it's done! Get really excited because you just made fucking empanadas!

You can also bake these little treasures, of course. To do that, preheat your oven to 375, oil a baking sheet, and put your empanadas on it. Brush the tops of them with oil and bake until their crusts are firm, golden, delicious. About 2o minutes, give or take. Just keep an eye on them! Serve piping hot!

Serve with mixed field greens, and garnish with avocado slices and pickled jalapenos, please. Also consider adding fresh or pickled jalapenos to your empanada filling! This specific jar of pickled jalapenos used on my batch was a birthday present from my friend Simon, but (poorly kept secret:) making pickled jalapenos is one of the my favorite things to do! A recipe for homemade pickled hot peppers (fermented using salt & natural chemistry! vinegar can take a hike) is a bunch of entries back in this here food blog if you're feeling like venturing into this territory or in case you come into an abnormally large quantity of fresh hot peppers anytime soon.

For funsies, why don't you try adding spiced and shredded seitan into the mix, or substitute seitan for rice! Or, try out sweet empanadas: saute some apples in butter, and then toss them in cinnamon and/or maple syrup. Fill the things, bake them, and drizzle with icing after they've cooled a little bit. Sprinkle with cinnamon sugar, serve with ice cream, and let your imagination run relatively wild with over-the-top shit like that. Because, let's get real. Life is too short to not be constantly thinking about the components of dessert empanadas.

Tuesday, April 27, 2010

Young Japanese Knotweed Crisp & Blueberry Maple Ice Cream
because it just so happens that sometimes a vital component of dessert can be found in a riverbed


So, it seems that the inevitable day finally comes when you find your arms overflowing with japanese knotweed that you recently wildcrafted near local roadsides and ponds. And you stumble home with it all, and you enter your front door only to trip over a cat and spill the stalks this way and that, and you suddenly find yourself becoming quite invested in searching for recipes that will utilize lots of the stuff in an incredibly appetizing way. 


This is an exaggerated re-hashing of the situation at hand, with the words "cat" and "stumble" added to grab your attention, of course. The truth of the matter is that my friend Simon recently brought home a bag filled with japanese knotweed he had harvested. And we needed to do something with it. What happened next is history. Delicious and well documented history.


Japanese knotweed is an incredibly invasive species, which can be a blessing to anyone hoping to utilize it, but a nightmare for someone who regularly thinks "oh dear, i wish that stalky bamboo-like plant wasn't there, and i wish it wasn't multiplying as it is." You can decide what camp you are in, how about that! If you choose to be indifferent towards good ole polygonum cuspidatum, your life will probably see no alterations at its existence and slow invasion of the entire planet. And if it does happen to invade your world, try making jam out of it! Isn't jam great?


So, Simon is an all around rad human being, a sentiment I am at great risk of being branded "a broken record" for repeating yet again. But he is also a plant medicine knowledge geyser, because that is a really common term that is used to describe those who have studied the field of botanical medicine extensively. Wildcrafting herbs and plants for use in medicinal tinctures, teas, and in this particular case, fruit crisp desserts, is his scene, and I am slowly learning things here and there when I can about plant species, what is good for what, where to find things growing, and how to treat and harvest the plant when you do find it. This recipe is his brainchild! In fear of botching some information, I will await a real-time japanese knotweed description/run-down (if it is to happen) from Simon, and spare you all my horrible memory's remnants of discussion.

These ingredients made for two huge pans of crisp. Half the recipe if you're feeling shy, feeling like you just don't have enough japanese knotweed, or if you're just plain scared of excess. 


8 cups cut up japanese knotweed
8 cups cut up strawberries, pears, apples, whole blueberries all mixed together
3 cups oats
3 teaspoons vanilla
1 teaspoon cinnamon
1 1/2 grade C maple syrup (can substitute A or B, but really, let's be honest. C is tops.)
1 rad mixtape made with love and a great ear for all things music, to be played throughout the process

For the blueberry maple ice cream:

2 cans coconut milk
a bunch of blueberries
a bunch of grade C maple syrup (to desired sweetness/flavor)
some vanilla

Let's begin! It is so simple! You are already impressed with yourself!

To make your ice cream, follow the more specific directions a few entries below, and also cruise down there to hear me rant and rave about ice cream makers, give you my personal ice cream history, see a picture of me on Cheryl's shoulders, and to see a more decadent ice cream recipe. This one is rather simple, and simply incredible! Mix all those above ingredients together until you think they're in good shape. They'll be a beautiful lavender if you've played your cards right! Pour the mix into your ice cream maker. Churn away. Freeze a little more. Eat. Rejoice. Repeat the process until your family intervenes. 


Grade C maple syrup is the stuff dreams are made of, okay? I say this with no hesitation. A subject of some controversy, it is difficult to find, not not legal for the sugarhouse to label and sell as "grade C", and therefore must be found where it can be found. Our local source gets it delivered unlabeled, and labels it at the store, to our excitement. Find Grade C soon, taste what you've been missing, if you indeed have been missing it.

And if you don't want ice cream, don't make it! Use your agency, okay? The crisp will still taste fantastic. And here it is:

Get your young japanese knotweed all cut up. It should be harvested when it is 6 inches tall. it will taste like a mild rhubarb, and we sort of used it as such!


Mix all your fruit and berries together after they are all cut up.


Mix the knotweed and fruit together in the pans. 


Cover them with the oats, add vanilla, cinnamon, and maple syrup! Mix it all together with everything else!


Throw it in the oven! Bake it at 350 degrees for about an hour. As long as you think it needs, really. 

Eat your crisp and ice cream together because it just seems like the responsible thing to do for yourself. We made this at night, and couldn't resist eating it immediately after it was all finished, post-midnight, making it supremely difficult to sleep due to heightened blood sugar and general dessert-y excitement. The leftovers of both came with us to the rooftop of a campus art building a few nights later, to be shared with other friends under the stars. See? Look how romantic this recipe is! Make it right away and watch your life begin in front of your very eyes.


I'll soon need testimonials to back up that last statement.

Monday, March 22, 2010

BAGELS BAGELS BAGELS
we all know how important these things are.


I have a lot to say about bagels. I have eaten quite a few of them in my life. I have buried many of them in my backyard due to intense bagel overhauls left over after large "gotta-feed-lots-of-people-oh-what-will-we-do-it-with" community events have come and went. I am guilty of large-scale bagel heists routinely performed at ungodly hours of the morning at an undisclosed campus dining establishment. For these reasons and more, bagels are important to me. So, I figured it was about time I learned how to craft them myself.


A real downer in this situation is that by making bagels yourself, you will be missing out on the trademark sass or charm of a bagel counter employee. I am referring to most New York City bagelries, as the help at the local joints are either too sweet to be charming or too mean to be sassy. Once you've made them, have a friend stand opposite you and fix one for you while they either critique your lack of an umbrella on such a rainy day, or compliment your hair's finesse. Or, both! It will help if they yell. I don't want to think we live in a world where we can't recreate the joys of a NYC bagel shop.

This recipe is from the beloved Isa Chandra Moskowitz's new vegan brunch cookbook, with a few of my own adjustments and embellishments. I am indebted to the lady, always.

You will need:


3 tablespoons sugar
1 1/4 cup lukewarm water
2.5 tablespoons of dry active yeast
4 cups all-purpose flour
2 tablespoons vital wheat gluten
2 teaspoons salt
vegetable oil for the rising bowl
any bagel toppings you want (onion flakes, sesame seeds in this case)

So, to start off, dissolve one tablespoon of the sugar in the water. Add the yeast.


In a separate big mixing bowl, mix together everything else (except the vegetable oil and bagel toppings, and remember to add the remaining 2 tablespoons of sugar). 


Add the yeast mixture and knead for about 10 minutes, until the dough is neither dry nor wet, but a good amount of tacky. I busted out my Kitchen-aid mixer to get this job done lickety split. I will be honest and say I don't get as much use out of the thing as I really really should, but that doesn't mean I love, cherish, and respect it any less. If you have one, use it! Get out the dough hook, and after sticking it into your long-sleeve shirt sleeve and pretending it is a deadly weapon, affix it to the machine and get mixing! It doesn't take long, just keep an eye on it and make sure it is all mixing well.


Oil up a bowl and put your dough in it. Cover it with a damp cloth and let it sit for an hour. 


Put a large pot of salted (about 2 teaspoons) water on the stove to boil. Preheat your oven to 425 degrees. Release your dough after its hour in the oil slammer and cut it up into 12 equal pieces. 


For larger bagels, cut them into fewer pieces. If you'd like tiny bagels (for replicating bagel bites? if you do this please invite me over), cut them into more pieces. 

By hand, roll each piece into a ball, and fold it back on itself with your thumbs until a hole appears in the center. Widen it a bit, until it is a little under an inch wide. 


Isa suggests patting them in the bagel topping at this stage, but I would advise to wait until after the boiling, myself. The water seemed to shove off most of the toppings, and I added more afterwards.


Once your water is boiling, plunk a few of the bagel forms in at a time, however many your pot size will house floating at the top. 


They should pop up pretty quickly and float, but if they don't, just nudge them up from the bottom. Reduce your water to a lighter simmer, and let them boil for one minute on each side, then switch them out for new bagels. Be careful to not burn yourself as you get them out of the water!

Now, put your toppings out on saucers and pat your bagels in them on both sides, or sprinkle them on top. I did onion flakes and sesame seeds, but poppy seeds and garlic and salt and everything would be rad, too! Put jalapenos on top, see if I care! (Again, if you do the jalapeno thing, please invite me over.)

When all your bagels have been boiled and topped to your satisfaction, lightly oil up baking sheets and arrange them. 


Bake them for 20 minutes, or until they have browned nicely. Due to a rather unsuitable oven situation at my house, I neglected mine a touch and they are a little browner than I would have liked. But there's always next time! Let them cool for a half hour and then eat the heck out of them! 


I slathered mine in coconut oil


It is hard for me to not slather everything in my life in coconut oil, so bagels are of no exception. You know very well what you like on your bagels, so go to town with it! I have yet to find a legitimate vegan cream cheese recipe that does not rely on tofu, so I have nothing to share on that front. I know that stuff can be delicious and all (the clouds in my dreams are sometimes made of la bagel delight's vegetable tofu cream cheese), but in all honesty, it all usually just scares me. I mostly stick to hummus when I order bagels out. The bakery's is so stuffed with garlic that after devouring, any possibility of a spontaneous and torrid wedding proposal from a stranger is completely eliminated. And getting proposed to by a vampire? Even less plausible! I take these small victories when I can.